-
5 Enterprise-Level Alternatives to Adobe Experience Manager
Compare 5 enterprise AEM alternatives – costs, trade-offs, and real migration insights to help you choose the right platform before the 2027 deadline.
-

Why Headless CMS Development Is Redefining How Teams Build Digital Experiences
Learn how headless CMS architecture works and the technical trade-offs teams should consider before moving beyond traditional CMS platforms.
-
Why Dedicated WordPress Teams Win at Enterprise CMS Migrations
Enterprise CMS migrations go off-schedule more often than they succeed. Here’s how dedicated WordPress teams protect SEO, data, and timelines.
-

The Sitecore Competitors Changing How Enterprises Build Digital Experiences
Evaluating Sitecore competitors across enterprise DXP, headless, open-source, and .NET platforms – based on cost, architecture, and real migration triggers.
-
WordPress 7.0: Everything You Need to Know About the Biggest Release in Years
Real-time collaboration, native AI infrastructure, a refreshed admin UI, and the biggest collection of new blocks and design tools since Gutenberg’s debut.
-
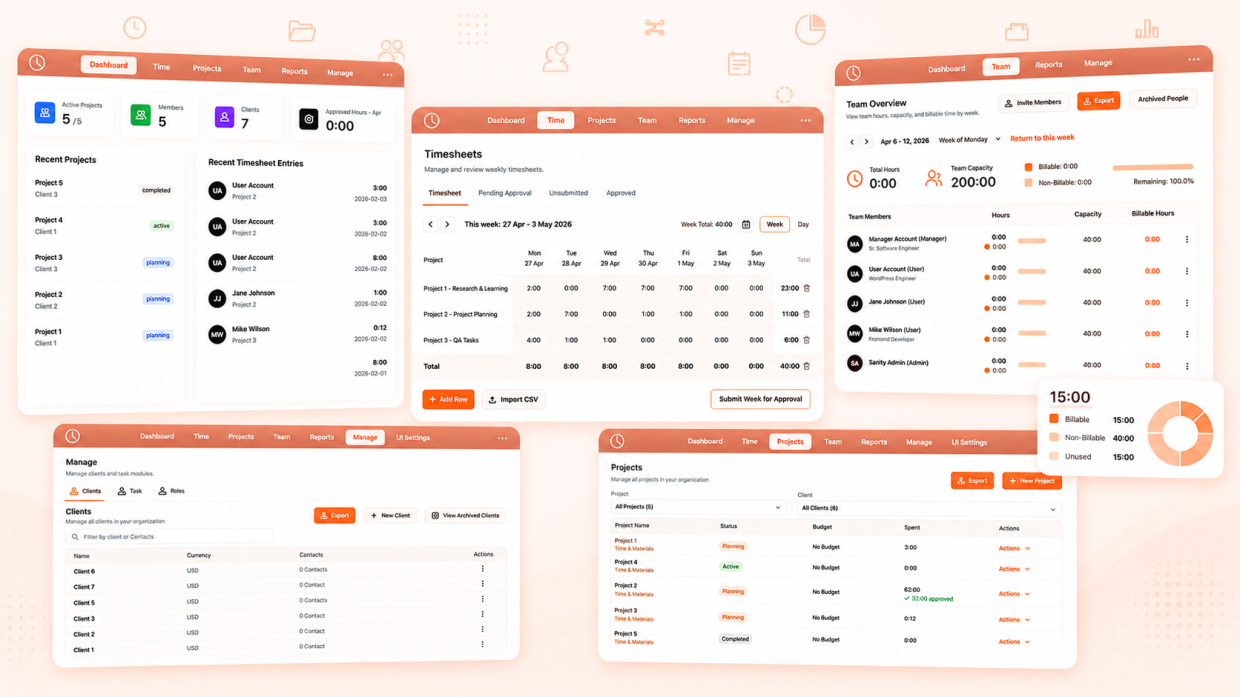
Behind the Build: Creating a Harvest-like Time Tracking Platform on Sanity
A practical guide on building a full-featured time tracking application using Sanity CMS as the backend
-
How Much Does Enterprise WordPress Actually Cost
Discover the five actual cost categories driving enterprise WordPress budgets. Stop guessing and start planning your platform investments accurately.
-

How to Choose a WordPress Agency in the UK Without Getting Burned
Choosing a WordPress agency in the UK? Learn what projects really cost, how to spot red flags, and the key questions to ask before you commit.
-
How To Migrate Your WordPress Content to Sanity CMS
Migrate WordPress to Sanity CMS without breaking content, media, or SEO with this proven workflow.
-
Which WordPress Alternatives Actually Deliver Better Results
Compare the best WordPress alternatives for ecommerce, publishing, and enterprise sites – plus when optimizing WordPress beats migrating entirely.
Recent Posts
- Beyond the Screen: Why In-Person Connection Remains Our Greatest Strategic Asset

- WordPress VIP Pricing From $25K to $500K Explained

- TYPO3 vs WordPress: Which CMS is Right for Your Business?

- Glide CMS Alternatives: Top 3 Enterprise CMS Alternatives to Glide CMS

- Why Are People Leaving Substack for WordPress?

Recent Comments
Archive
- July 2026
- June 2026
- May 2026
- April 2026
- March 2026
- February 2026
- January 2026
- December 2025
- November 2025
- October 2025
- September 2025
- August 2025
- July 2025
- June 2025
- May 2025
- April 2025
- March 2025
- February 2025
- January 2025
- December 2024
- November 2024
- October 2024
- September 2024
- August 2024
- July 2024
- June 2024
- May 2024
- April 2024
- March 2024
- February 2024
- January 2024
- November 2023
- October 2023
- September 2023
- August 2023
- July 2023
- May 2023
- April 2023
- March 2023
- November 2022
- October 2022
- August 2022
- May 2022
- April 2022
- February 2022
- January 2022
- August 2021
- July 2021
- June 2021
- March 2021
- January 2021
- December 2020
- November 2020
- October 2020
- July 2020
- May 2020
- April 2020
- March 2020
- February 2020
- January 2020
- December 2019
- November 2019
- October 2019
- September 2019
- June 2019
- May 2019
- April 2019
- March 2019
- February 2019
- December 2018
- November 2018
- September 2018
- August 2018
- July 2018
- June 2018
- May 2018
- April 2018
- March 2018
- February 2018
- January 2018
- December 2017
- November 2017
- October 2017
- September 2017
- August 2017
- July 2017
- June 2017
- May 2017
- April 2017
- December 2016
- November 2016
- October 2016
- September 2016
- July 2016
- June 2016
- May 2016
- March 2016
- November 2014
- May 2014
- December 2013
- May 2013
- April 2013
- March 2013
- February 2013
- January 2012
- May 2011
- February 2011
Tags
Accessibility AEM Analytics Announcement Arc XP Celebration Chorus Collaboration Compliance Contentful Contentstack Contribution Cost Calculator Culture Customer Success Django Drupal Enterprise WordPress Events Glide Headless CMS HubSpot Interface Migration OCM (Oracle Content Management) Performance Podcast Prismic Product Announcements Product Sync Recognition Revenue Monetization Sanity Security SEO Sitecore Staff Augmentation Substack Theme TYPO3 Umbraco Webinar WooCommerce WordPress WordPress Updates